Good morning and HAPPY SUNDAY! The weekend is coming to an end and if you don't have any Sunday Funday plans, I have a DIY for you :). This month, all my DIY's will be Christmas focused (duh) and my first is a how-to guide for making this Santa bag. It's really easy and only took about an hour or so to make. Let's go over all materials and instructions!
You'll need:
1 yd of red fleece (72 inches wide)
Ribbon of your choice-length is up to you
Scissors, pins and glue gun
4 felt squares for the letters (I used a thin plastic type, not sure what it's called)
Instructions:
1. On the back side of your felt squares, trace your big letters. I free-handed this, but if you need a stencil, I suggest printing huge letters off of Word and using that as a guide. After you're done tracing your letters, go ahead and cut them out :)
2. Take your yard of fleece and pin the sides that aren't already connected together. When you pin them, you'll start to form the bag.
3. After you're done pinning, run a basic stitch all along the two sides to fully connect the bag. Don't worry about sewing the raw edges, fleece fabric doesn't come undone (best fabric ever).
4. Next, flip your bag inside out and you're done with the bag itself.
5. After that, take your ribbon spool and measure out the length you'll want for your ribbon.
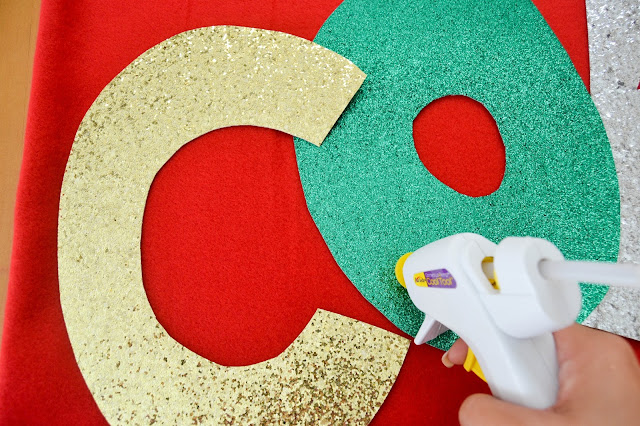
6. Finally, place the letters on your bag and simply glue gun them down. Before I glued them onto the actual bag, I glued the letters together so that this last step would be much easier and I wouldn't have to be rearranging last minute, etc :)
Easy right?? Let me know if you guys have any questions, have a great day!
Xo..Brocade Closet


No comments:
Post a Comment